Outlook Express 5 & 6 - Email Client Settings
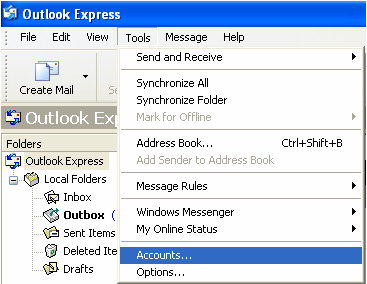
From the 'Tools' menu, select 'Accounts'.
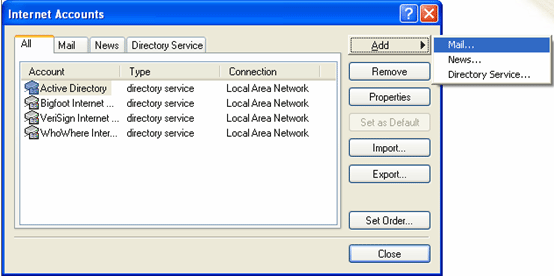
From the 'Internet Accounts' screen, select 'Add', then select 'Mail...' from the drop-down menu.
In the 'Display name:' field, enter your name as you would like it to appear in the "From" field of your outgoing messages, then click 'Next'.

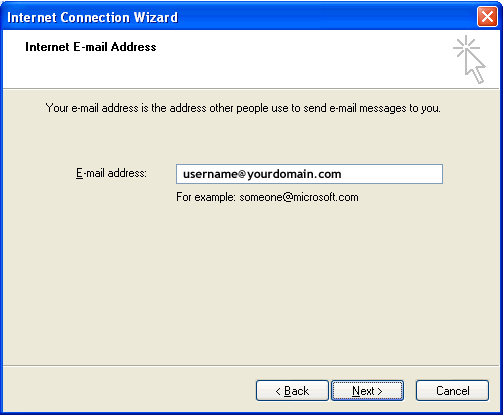
In the 'E-mail address:' field, enter your full email address. Click 'Next'.
In the 'E-mail Server Names' screen, enter the following information:
E-mail Server Names
- My incoming mail server is a 'POP3' server.
- Incoming mail (POP3,IMAP or HTTP) server: mail.yourdomain.com
- Outgoing mail (SMTP) server: mail.yourdomain.com

In the 'Internet Mail Logon' screen, enter the following information:
Internet Mail Logon
- Account name: Enter your full email address (username@yourdomain.com)
- Password: Enter your password.
- Tick the box marked 'Remember password'.
Click the 'Next' button.

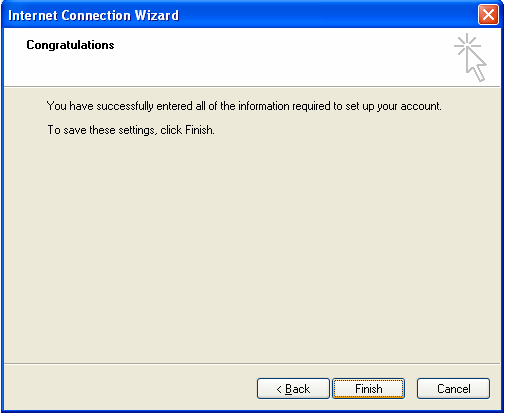
Click on 'Finish'.
From the 'Internet Accounts' screen, select your newly created email account (usually mail.yourdomain.com) then click on 'Properties'.

Select the 'Servers' tab. Under 'Outgoing Mail Server' tick the box next to 'My server requires authentication'.

Click 'Settings' and check the box that says "Use same settings as incoming mail server"
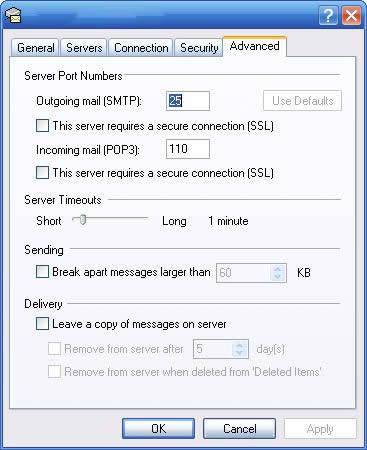
In the 'Advanced' tab, enter the following information:
Server Port Numbers
- Under 'Outgoing mail (SMTP)', make sure 'This server requires a secure connection (SSL)'. is UNCHECKED
- Under 'Incoming mail (POP3)', make sure'This server requires a secure connection (SSL)'. is UNCHECKED
- The Outgoing mail port should be 25 (although if you have trouble sending mail from this port, it CAN be changed to 26.
- The Incoming mail port should be 110.
Click 'OK'.
Congratulations, you have finished configuring your email client!
|